Solenoid valves come in various types, each serving a specific function within a control system. Common examples include check valves, safety valves, directional control valves, and flow control valves. Proper installation is crucial to ensure safe and efficient operation.
Installation Guidelines for Solenoid Valves:
1. Before installation, thoroughly read the product manual. Verify that the valve meets your application requirements and note all key installation details. This preparation helps avoid errors during setup.
2. Confirm that the nameplate specifications match the selected product. The power supply voltage must meet the rated value and acceptable fluctuation range—AC: +10% to -15%, DC: +10% to -10%. Avoid opening the coil assembly unless necessary.
3. Prior to connecting the solenoid valve, flush the pipeline with a pressure of 0.3 MPa to remove any debris such as metal particles, sealing residue, or rust.
4. Ensure the medium is clean. If it contains dust or impurities that could interfere with valve operation, install a filter with a mesh size of at least 60 to protect the system.
5. Do not install the solenoid valve in low-lying areas of the pipeline. Instead, place it on the discharge side of the container. It should be installed at the bottom of the container, not removed from the bottom.
6. If the medium may cause water hammer, choose a solenoid valve designed to handle this condition or implement appropriate protective measures.
7. A steam trap should be installed on the steam inlet side, and the nozzle should be angled properly for optimal performance.
8. Most solenoid valves are directional and should not be reversed. The direction of media flow is usually indicated by an arrow (→) on the valve body. However, in vacuum lines or special applications, the orientation may vary. Always follow the manufacturer’s instructions.
9. The electromagnetic coil should generally be installed vertically, aligned with the horizontal plane of the pipeline. If space constraints require alternative positioning, such as in a sewer-like layout or upside down, make sure to specify this during ordering. Some models have unique installation requirements, so refer to the manual.
10. When using threaded connections, avoid overusing sealing materials. Keep the thread length within the effective range, and chamfer the end of the last full thread with a file. Wrap the sealing tape starting from the second thread to prevent excess material from entering the internal cavity of the valve, which could cause malfunctions.
11. Provide sufficient space around the valve for regular maintenance and inspections. This ensures ease of access and reduces downtime.
12. Use a wrench or pipe wrench to secure the valve body before connecting the tubing. Never apply force directly to the electromagnetic coil, as this can cause deformation and affect the valve's functionality.
13. If the pipeline lacks sufficient rigidity or if water hammer is expected, install support brackets before and after the valve to stabilize it.
14. In cold environments, insulate the piping or install a heater to prevent freezing and damage to the valve.
15. After installation, check for leaks in the valve itself and its connection to the nozzle. A small leak can lead to significant operational issues over time.
16. Inspect the coil wiring connections, especially for three-wire systems, to ensure proper electrical contact and prevent failure.
17. Electrical components such as relays, switches, and contactors connected to the solenoid valve must be stable. Vibrating contacts can cause unreliable operation and reduce the lifespan of the valve.
18. Ensure the electrical circuit is protected with the correct fuse or circuit breaker to safeguard against overloads and short circuits.

Stay alert and prepared
Tag: Solenoid valve, Installation points, Chamfering, Threaded connection, Vacuum line
Previous: How to quickly identify the quality of the tap Next: How to install the hot and cold mixed home faucet?
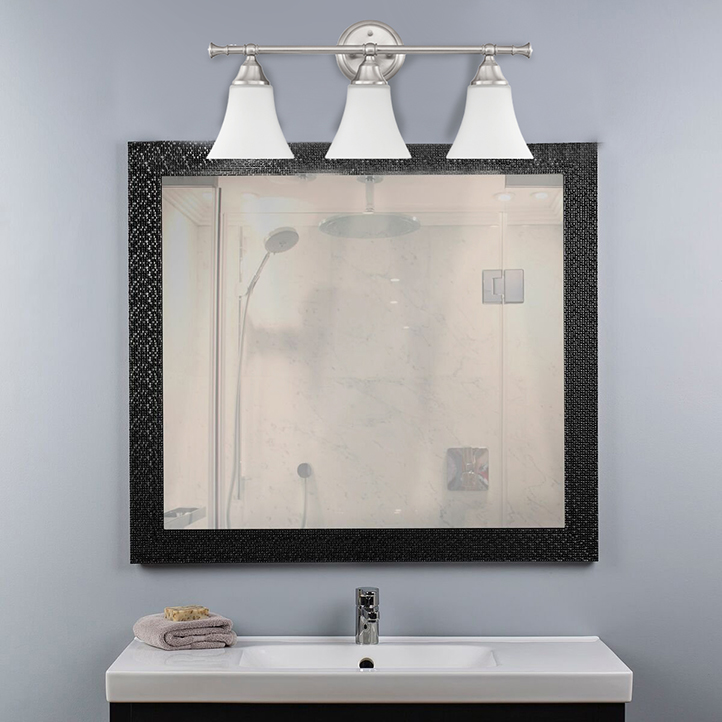
Indoor Wall Light is Lighting Product installed on interior walls, usually consisting of a lampshade and a bracket. They include Wall Sconce and Vanity Light come in various designs and styles, ranging from modern, traditional, artistic, to minimalist. Indoor wall light can be used to provide basic lighting or to create atmosphere and accentuate interior decoration. Some indoor wall light also come with dimmers, allowing for adjustable light levels as needed. They typically use LED or energy-saving bulbs, thus saving energy and being long-lasting.

Indoor Wall Light,Decorative Indoor Wall Light,Decorative Indoor Wall Lamp,Indoor Vanity Light
Zhengdong Lighting Co., Ltd. , https://www.sundint.com
![<?echo $_SERVER['SERVER_NAME'];?>](/template/twentyseventeen/skin/images/header.jpg)